How to Beat Behemoths in Rogue Eclipse
Delve into colossal hulls without turning the corridor into your grave.
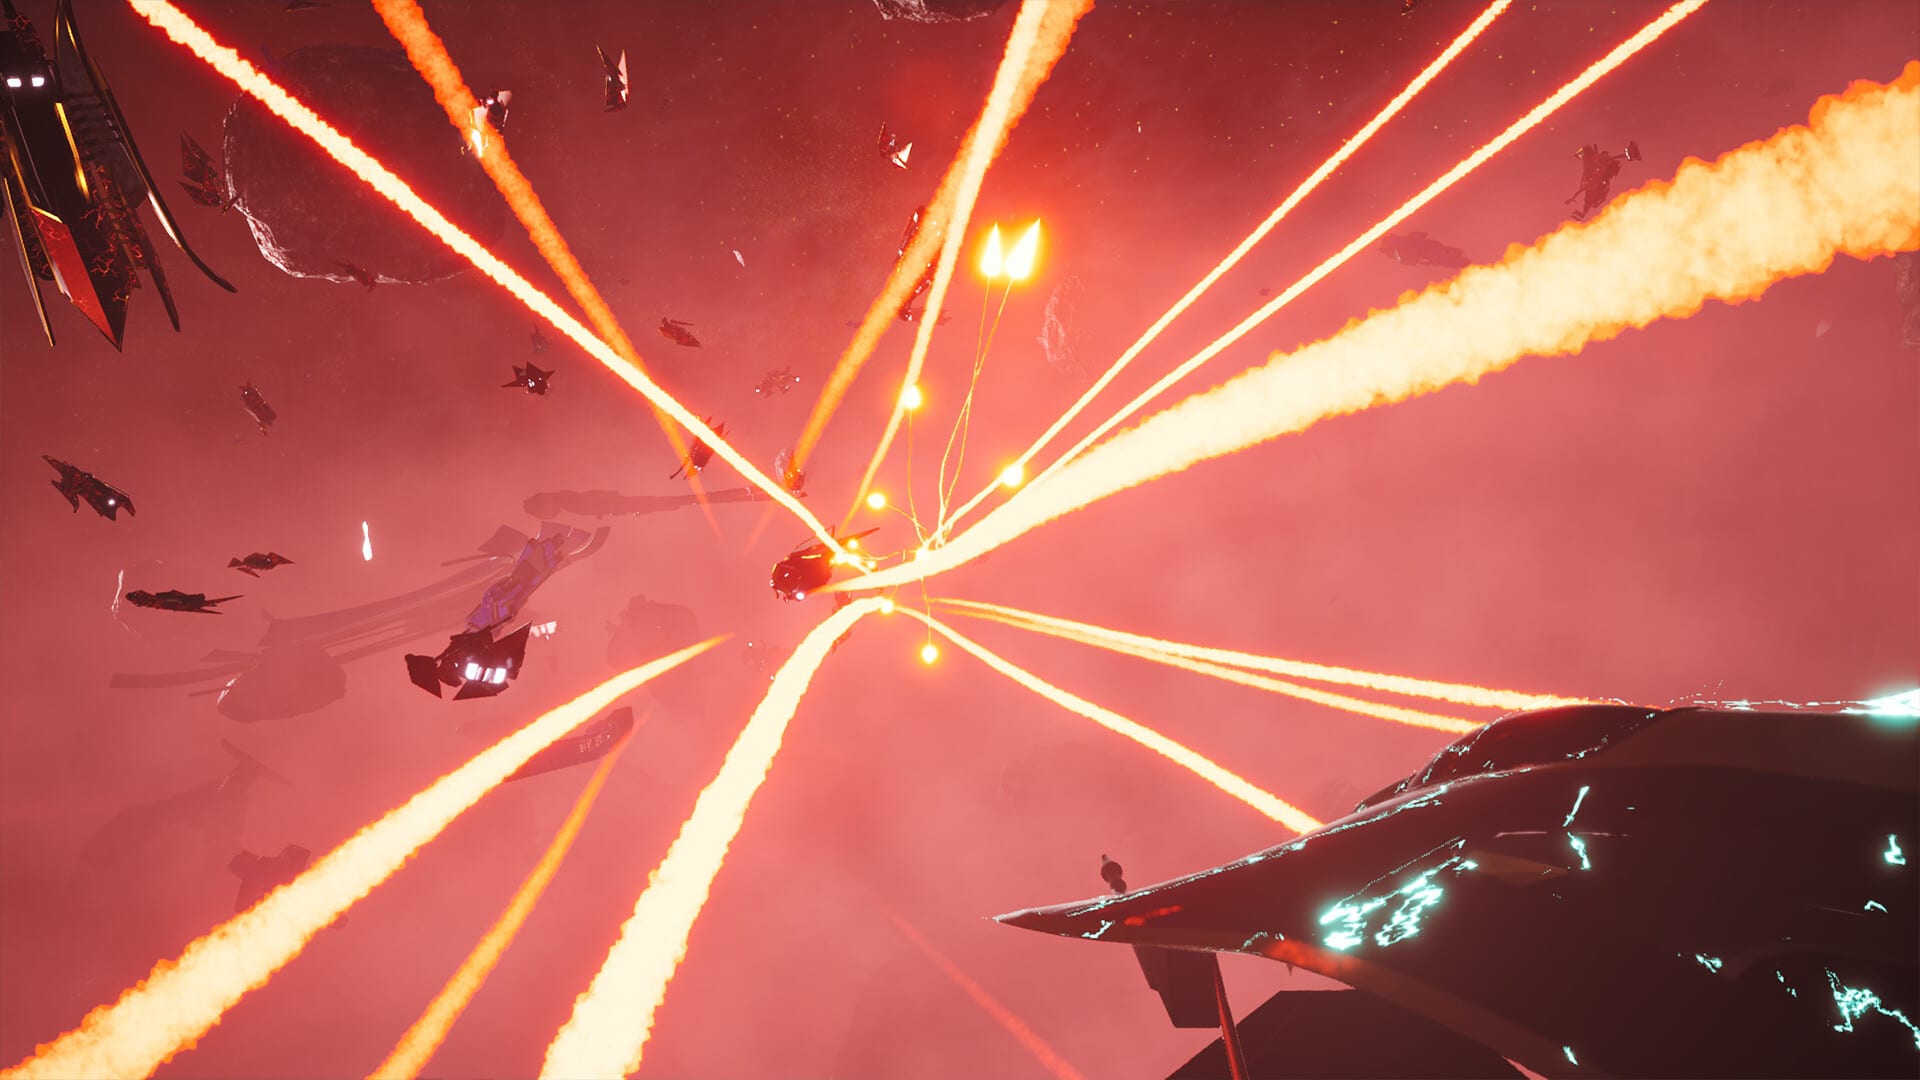
Behemoths are the headline spectacle in Rogue Eclipse: hulking enemy vessels large enough to fly through, destroy from the inside, and fail inside if you treat them like another swarm. This guide explains how to beat behemoth encounters in principle using demo lessons, trailer language, and arcade piloting habits. Pair it with combat and survival for exterior scrap and the demo walkthrough for when these fights appear in the Steam slice.
What a behemoth fight actually tests
Outside, you prove you can approach under fire. Inside, you prove you can navigate a lethal architecture while damage sources stack from angles the open void never used. Destructible environments matter here. If you ignore breakable cover, turrets, or choke geometry, the ship becomes a maze that shoots back. If you over-commit boost inside tight halls, you decorate a bulkhead.
Approach phase — do not gift the opening shot
Before you dive, clear or thin the escort that owns your entry vector. Approaching a behemoth while a full fighter wing still owns your six turns the dive into a funeral procession. Use short boosts to change plane—above or below the obvious docking drama—then commit. If hull warnings are already screaming, disengage, repair your composure in open space, and re-approach. Ego entries are the most common avoidable wipe.
Entry phase — map the first thirty seconds
Your first half minute inside should be cartography, not DPS races. Note:
- Which corridors loop versus dead-end
- Which surfaces break and which are solid gates
- Where enemy spawners or turrets first announce themselves
- Where you would escape if shields drop
Fly a readable line. Keep speed high enough to be hard to lead, low enough to turn at junctions. If you are still learning, practise those speed changes in open combat first via Getting Started drills and keyboard or gamepad control pages.
Priority targets inside the hull
Arcade capital interiors usually punish players who shoot whatever is brightest. Build a priority stack:
- Threats that remove your exit lane
- Threats that chip you while you are turning
- Structural objectives the mission actually cares about
- Opportunistic fighters that are already dying in your cone
Destructible environments can collapse that stack in your favour. Blasting a wall might open a flank, delete cover for a turret, or create a shortcut that skips a kill box. Experiment once per death—note what changed—then encode the lesson in your next weapon loadout choice if you lacked sustained damage for bulkheads.
Mobility versus payload
Behemoth runs expose greedy builds. A glass loadout that deletes fighters in open space may melt when forced to strafe inside. Before a deliberate behemoth attempt, revisit ship upgrades and the loadout planner. Ask whether you need turning authority, cooling-friendly weapons, or a defensive cushion. Track unlocks on the unlock checklist so you are not improvising with locked options you forgot existed.
Disengage rules inside a giant
Leaving is a skill. If you lose orientation, stop chasing the objective marker with tunnel vision. Re-centre on a long corridor, boost toward light or the entry scar you remember, and leave. Resetting in open space is better than stacking two more deaths learning nothing. When you re-enter, change one variable only: entry angle, target priority, or weapon mode.
Difficulty and patience
On higher demo difficulties, behemoth interiors compress mistakes. Lower the setting until you can complete an intentional delve where you name every death cause. Then raise it. The Builds Hub and unlock progression pages help you grow power alongside skill rather than pretending raw aim alone solves architecture.
After you clear one
Debrief like a speedrunner without the timer. Which junction killed previous runs? Which destruction event opened the fight? Which upgrade made the second attempt calmer? Write that into your notes, update tools pages, and return to the Guides Hub for the next skill gap. Behemoths are meant to feel enormous; your plan should feel small, specific, and repeatable.
Frequently Asked Questions
Quick answers pilots ask before and after each run.
Are behemoths in the demo?
Demo and trailer materials emphasise delving into hulking vessels. Exact encounter frequency can vary by run—use this guide whenever a colossal interior appears.
Should I upgrade weapons or mobility first for behemoths?
If you die to walls and turns, take mobility or handling. If you die because objectives never break, take sustained damage options.
What if I get lost inside?
Stop forcing the objective, re-orient on a long corridor, and disengage to open space if needed.
Where should I practise before trying again?
Use combat and survival for escort cleanup, then controls drills for low-speed turning precision.